Forget Complicated Cake Decorating Tools as Bubble Wrap Comes to the Rescue!


What’s the thing about cakes that makes them look absolutely gorgeous and even more tempting? It’s that lovely decor that brings in all the fanciness to even the simplest of bakes. But, it’s not always about intricate-tipped piping bags or complicated tools to get that that. And, this chocolate tempering hack using a bubble wrap proves it quite well!
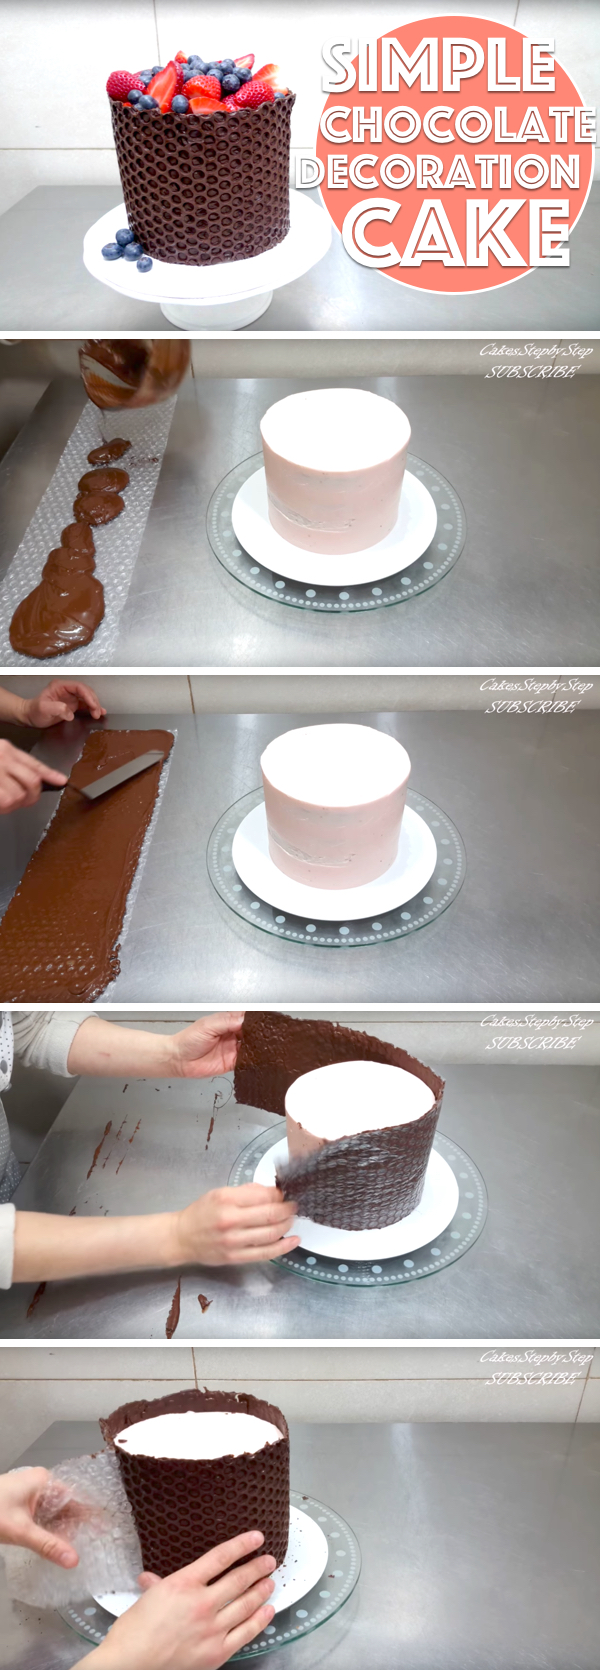
Cakes StepByStep puts a sheet of bubble wrap and lots of pastry chocolate to great use, adorning a baked cake with splendour. She ends up charming the cake with a super cute basket-like appeal by tempering chocolate and using the bubble wrap as a stencil.
You begin by breaking up pastry chocolate into smaller pieces in a microwave safe bowl, allowing it to melt in the microwave for about a minute. Stop for stirring the chocolate and give it another minute to heat, repeating the process until you get a thoroughly melted and smooth blend of chocolate.
Then you wrap the cake with a clean sheet of bubble wrap that has been pre-cut to fit the size of the cake you wish to transform from plain to picturesque! Make sure at least an inch of the sheet extends over the top circumference of the cake as well as one of the edges of the bubble wrap overlap the other with perfection.
Now comes the part where you place the bubble wrap sheet on the counter with its bubbles facing up, followed by pouring the hot chocolate mixture on top. Use a spatula or a knife to spread the chocolate evenly on the sheet and cover it edge-to-edge. You wouldn’t be able to imagine how things are going to turn out when you see her spreading chocolate onto the sheet. Let the chocolate sit for about 10 minutes and solidify at room temperature.
Carefully pick up the chocolate bubble wrap and apply it to the outside of the cake. Make sure the chocolate covered side faces in, touching and resting against the cake, then wrap it around while smoothing it on and pressing firmly against the cake. Pay careful attention to the seam where the edges meet and make sure it’s evenly aligned. Remove the wrap after a while, beginning from the seam and peeling back the sheet away from the chocolate. The end results are an ultra-adorable honey-combed pattern blanketing the sides of the cake – of course, with the ever-successful goodness of chocolate!
But what about the top of the cake? That extended chocolate over the top edge of the cake works wonders to holder a whole bunch of toppings, including fresh berries, fruit, cream, or your favorite candies! Make sure you don’t break the chocolate while serving – use a hot knife to slice the prettiness.
Simple Chocolate Decoration Cake
(Vide and pictures via Cakes StepByStep )
Head to the video to gain a better insight into the visual instructions, and get inspired to forge this out-of-the-box cake decor hack. Are you an expert baker? Or simply trying your hands at the delicious talent? Undoubtedly, the bubble wrap creativity will hit every single of the right notes!
If you liked this article, share it with your friends!
You may also like
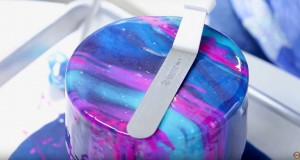
Travel The Space With A Piece of Cake in Hand With This DIY Galaxy Mirror Cake!
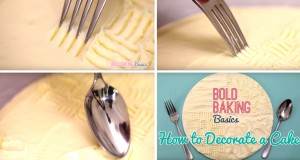
These 4 Fun Ways To Decorate A Cake Can Make Even The Most Novice Bakers A Showstopper!

28 Delectable Paleo Cake Recipes Keeping it Healthy and Nutritious!
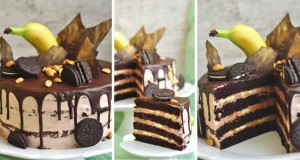
Hazelnut Dream Cake with Banana
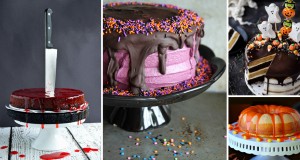
30 Decadent Halloween Cakes Worthy of Replacing Just About Any Festive Centerpiece!
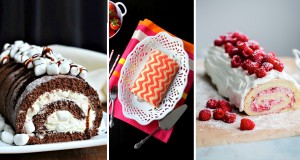
39 Yummy Cake Roll Recipes Combining Cream and Sponge in one Sweet Log!
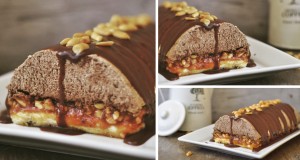
Chocolate Tunnel Cake with Caramel Hazelnut and Coffee on Sponge-fingers
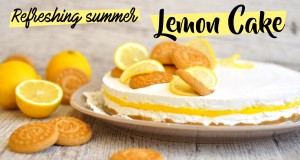
Refreshing Summer Lemon Cake
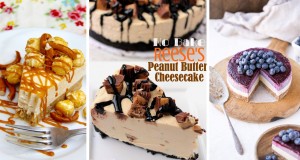
45 No Bake Cheesecake Recipes All About The Meaning of Melt-in-the-Mouth!